If you’ve been following the evolution of iPython, Jupyter Notebook, and JupyterLab, then you know the features are only getting better and better with each evolution. However, the core features of the Jupyter family of products are focused on data-science-centric tasks. These tools are perfect if you’re only working on data science projects, but what happens when you need to integrate with a backend and a frontend all within the same project? You basically end up with a not so easy QA and deployment workflow. Setting up Anaconda on Visual Studio Code (VS Code) opens up the option for advanced integrations and workflows that accept multiple frameworks, far more programming languages, continuous development, and continuous integration pipelines.
With Anaconda on Visual Studio Code, you can package backends, frontends, machine learning, and Jupyter Notebooks without having to deal with several projects. For example, in one Visual Studio Code project I have Django, React, Jupyter Notebooks, and use Jenkins for automated deployment and QA.
Skip here if you’re ready to start Predicting the Stock Market Using Machine Learning.
Benefits of Anaconda on Visual Studio Code
- Full-Stack Development – machine learning models, Jupyter Notebooks, backends, frontends, APIs, and automated QA script all from one project on one editor!
- Virtual Environment Management – handling virtual environments in Jupyter Notebook/Labs is possible but very limited and disconnected from the source code. The Visual Studio Code way of handling virtual environments is more OS-native and easier to access and control.
- Language Support – as a general-purpose editor, Visual Studio Code can support more languages and includes language-specific extensions like linting.
- Extensions and Customizations – take it to the next level with extensions and customizations: Linting, AWS, and deployment, hundreds of themes, common code snippets, icon packs, IntelliSense autocomplete, HTTP servers, comments/documentation templates, git, the list goes on…
- View Kernel Variables – instead of peeking at a DataFrame with
df.head()you can use the Visual Studio Code option “Show Variables Active in Jupyter Kernel”. This feature will show you all variables, even the ones that you forgot were active. - Feel Like a Pro – set it to a dark theme, learn a few shortcuts, work with the terminal, and watch your teammates drool while you do data science like a pro!
Let’s get started!
Install Anaconda
Head over to Anaconda and download the installer that corresponds to your operating system. I recommend installing the latest Python version unless you have a compelling reason to use an older one. For example, if you’re building a solution for a client with an older version of Python and you need to match their version then this would be a valid reason to choose an older Python version.
For detailed step-by-step instructions, I defer to the Official Anaconda Documentation.
Install Visual Studio Code
The free editor, Visual Studio Code can be downloaded from here. For instructions on how to install it head over to the official Visual Studio Code Documentation. I won’t cover these steps since the official documentation does a great job.
Set up Visual Studio Code
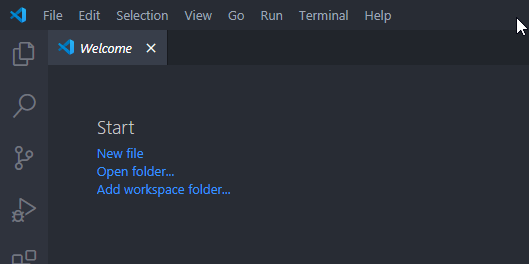
Start by creating a new folder for your project. For example Documents/Notebooks. Then open Visual Studio Code and select Start > Open Folder…
Go into the folder that you created and click “Select Folder”. Visual Studio Code will load your folder.
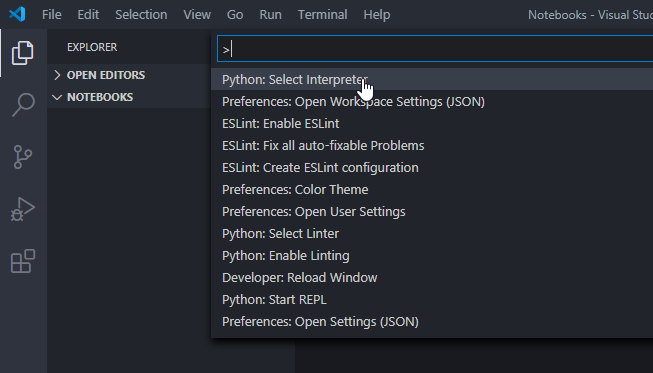
Next, select a Python Interpreter. Hit Ctrl+Shift+P and select Python: Select Interpreter.
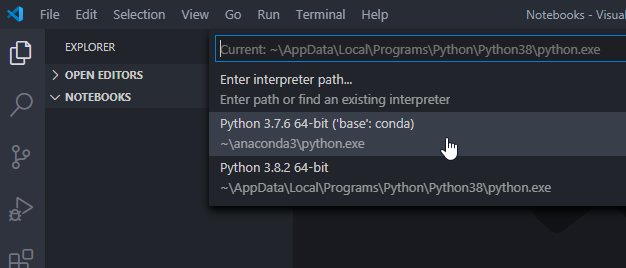
A Python Interpreter reads your script and translates them into Python byte code. You may have multiple Python interpreters if you’ve installed the vanilla Python from the official Python website and if you just installed Anaconda. Also, if you’re on macOS Catalina for example, your OS already has Python 2.7.16 installed as shown below:

Back to Visual Studio Code, select Python 3.7.6 64-bit (‘base’:conda). Your version may be different if you downloaded a different version of Anaconda.
Now let’s create our virtual environment. You can think of an environment as a bubble that holds your packages and dependencies exclusively for the project that you are working on. By using a virtual environment “bubble” you can have multiple projects each using different versions of the same package. For example, one project can be on Pandas v0.25.3 while another project can be on Pandas 1.0.5. Another benefit of virtual environments is that deploying the project on a server is easier as the virtual environment keeps a concise list of packages and versions that you have installed.
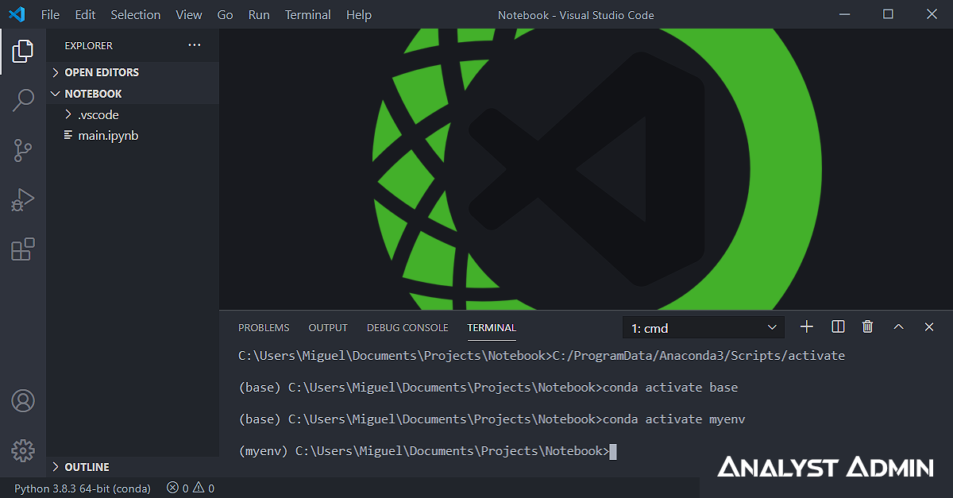
To create a virtual environment, enter Ctrl+Shift+`, a Visual Studio Code terminal should open up. Type in the following command:
conda create --name myenvGo through the process of creating the enviroment then enter the following command to activate the new environment:
conda activate myenvNow the path on your terminal should change to something like:
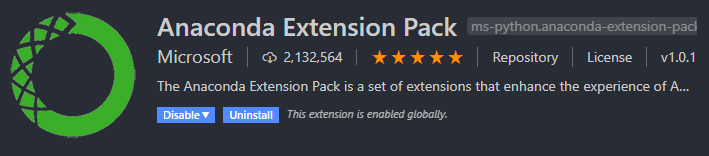
(myenv) C:\Users\Miguel\Documents\Notebooks>Now let’s install the Anaconda Visual Studio Code Extension. Enter Ctrl+Shift+X, search for the Anaconda Extension Pack, and Install it.
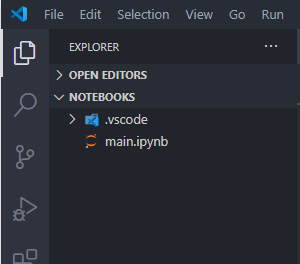
We’re done with the setup, and we can try creating a notebook. Go back to the Explorer (Ctrl+Shift+E), create a new file by clicking on the New File Icon, then enter main.ipynb and hit Enter.

A new notebook should open up on the side:
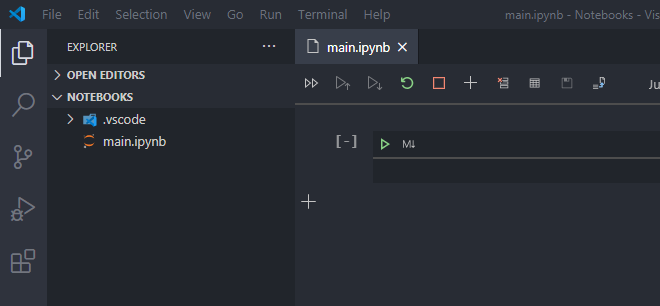
When the new file opens up it might take a few seconds, but it will eventually look somewhat like a Jupyter Notebook.
Now try typing in:
print('Hi')Then enter Shift+Enter to run the cell.
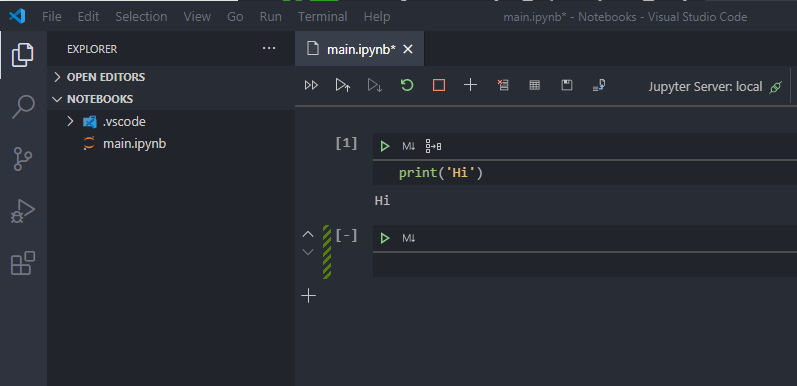
The notebook will print the test statement.
We’re just about done. If you want to do a more thorough test then you can type something like:
import pandas as pd
test_dataframe = pd.DataFrame({'a':[1,2,3], 'b':['x', 'y', 'z']})
test_dataframe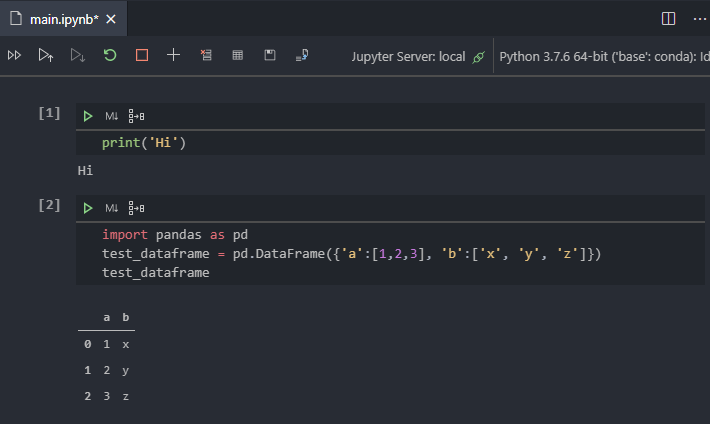
From here on out you can create more notebooks or write custom packages to use throughout your project. To install new packages install them with the conda install command in the Visual Studio Code terminal and the virtual environment will take care of the rest.