This guide is for anyone who needs to inspect and/or modify HTTP requests to and from your PC. For example, if you need to inspect Adobe Analytics or Google Analytics tracking beacons.
See here for the Charles for macOS Guide
Use cases:
- QA/verify Adobe Analytics or Google Analytics tracking beacons
- Inspect and/or transform HTTP requests to and from your PC
- Throttle connection either to specific hosts or all hosts
- Local proxy for websites, apps, Universal Windows Platform (UWP), or Android Studio
- Set up Windows 10 to proxy for iOS, iPhone, iPad, Android, tvOS, and Apple TV
Charles Proxy is a powerful website optimization and QA tool for developers, analysts, and engineers. With Charles you can monitor exactly how your application communicates with a remote server.
Part 1 – Certificate Set Up
The first part of the guide will help you add the Charles SSL Certificate to your PC so that Charles can decrypt any local HTTPS traffic.
Step 0 – Download and install Charles
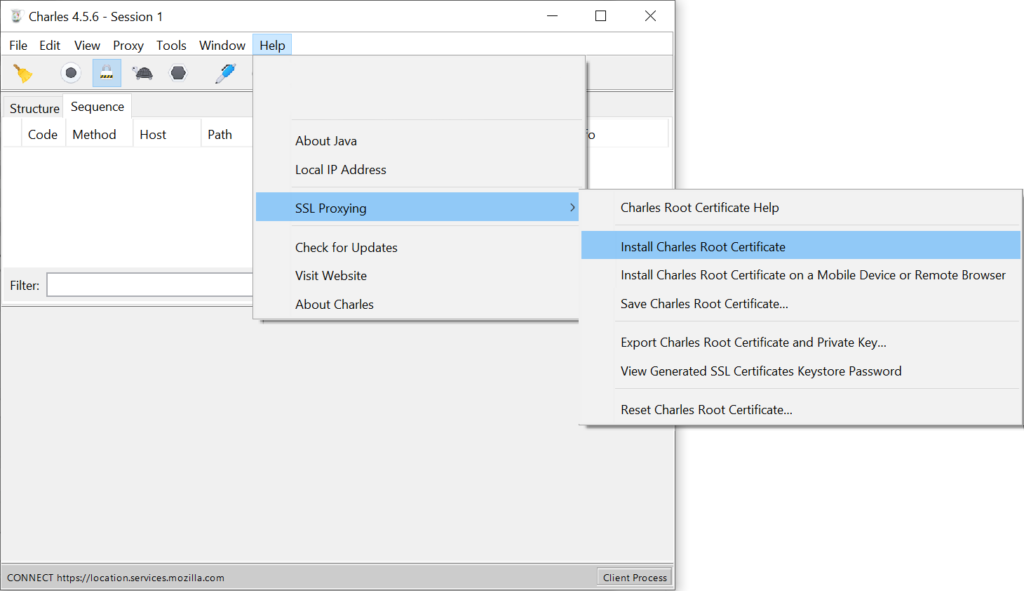
Step 1 – Open Charles then go to Help > SSL Proxying > Install Charles Root Certificate
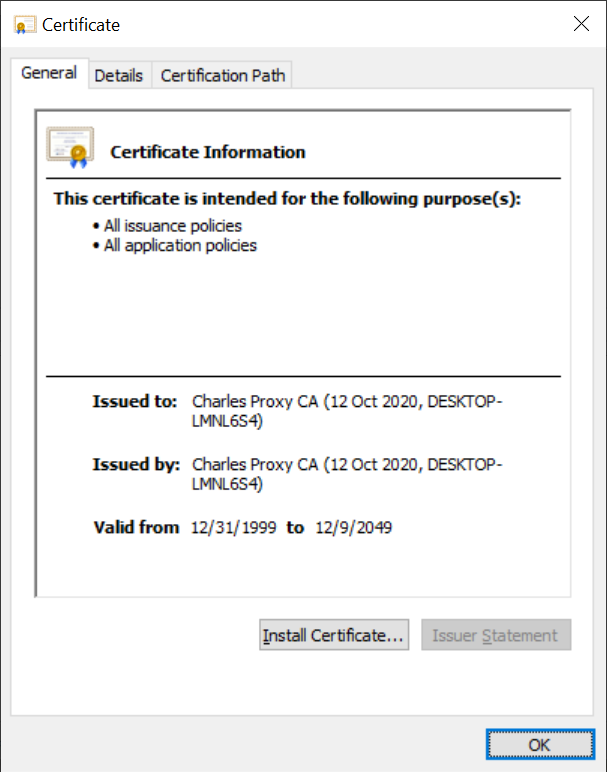
Step 2 – Click “Install Certificate”
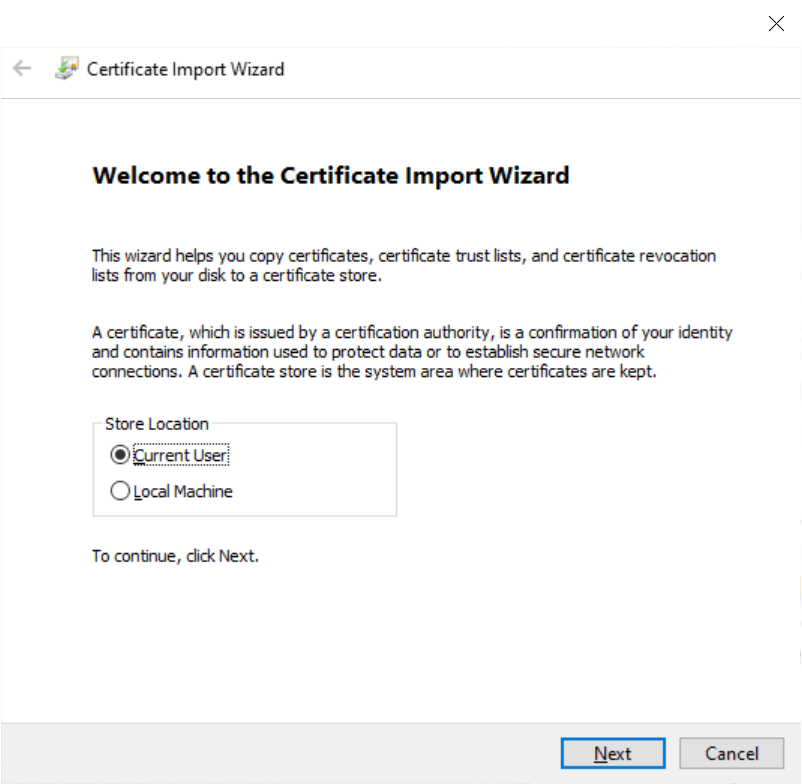
Step 3 – Select either “Current User” or “Local Machine”. I recommend “Current User” for most users.
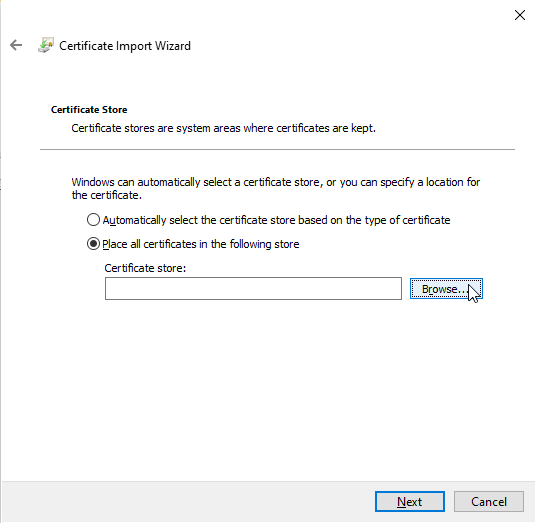
Step 4 – Select “Place all certificates in the following store” then click “Browse”
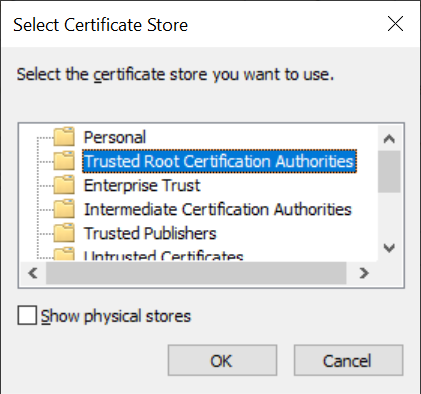
Step 5 – Select “Trusted Root Certification Authorities” then click “OK“
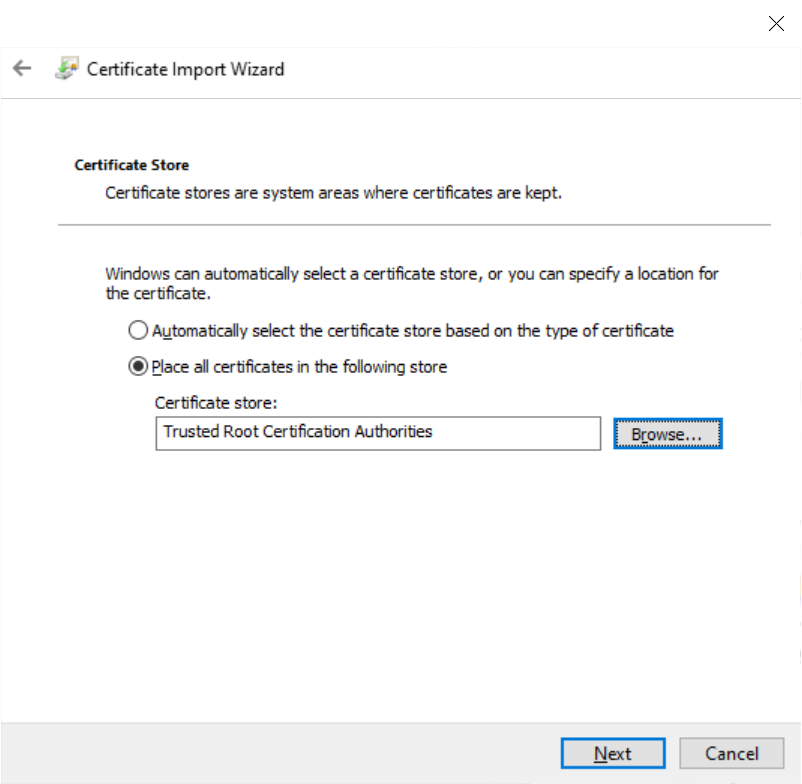
Step 6 – Click “Next“
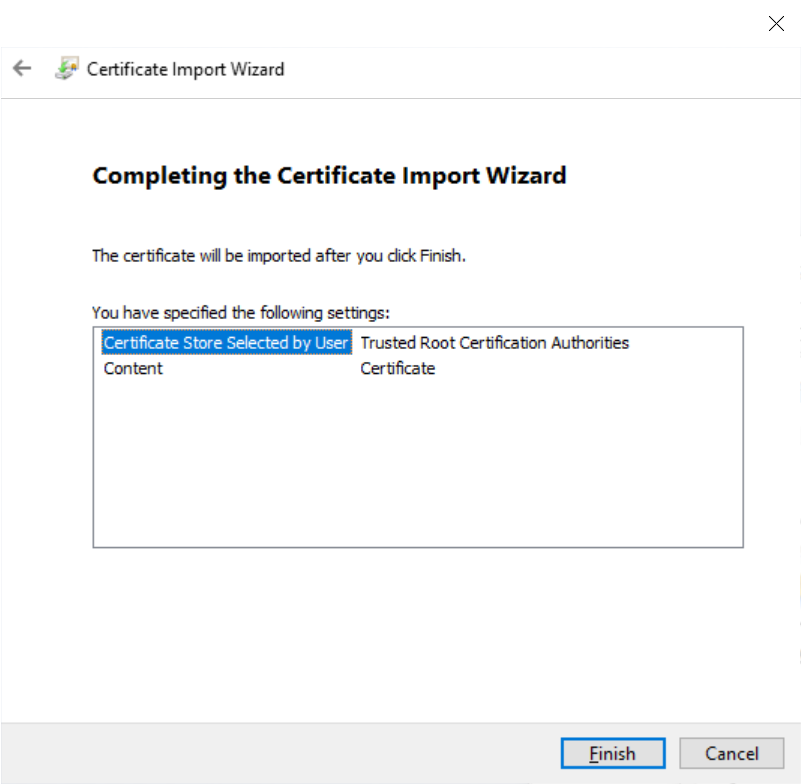
Step 7 – Click “Finish“
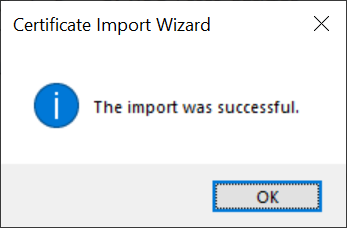
Step 8 – You should see a message saying “The import was successful”, click “OK“
Part 2 – SSL Proxying Set Up
This part will help you set up Charles so that it can decrypt HTTPS encrypted traffic.
Step 1 – Enable Windows Proxy if it is not enabled already. Click on Proxy > Windows Proxy. You should see a checkmark to indicate that the windows proxy is enabled.

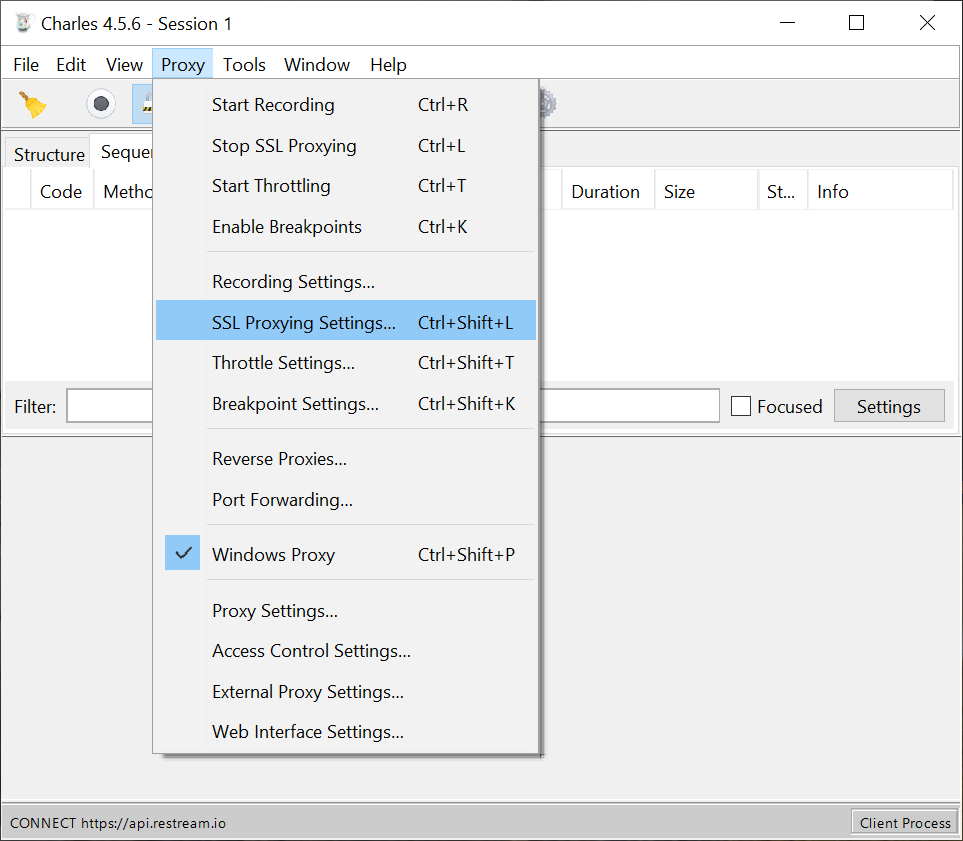
Step 2 – Go to Proxy > SSL Proxying Settings
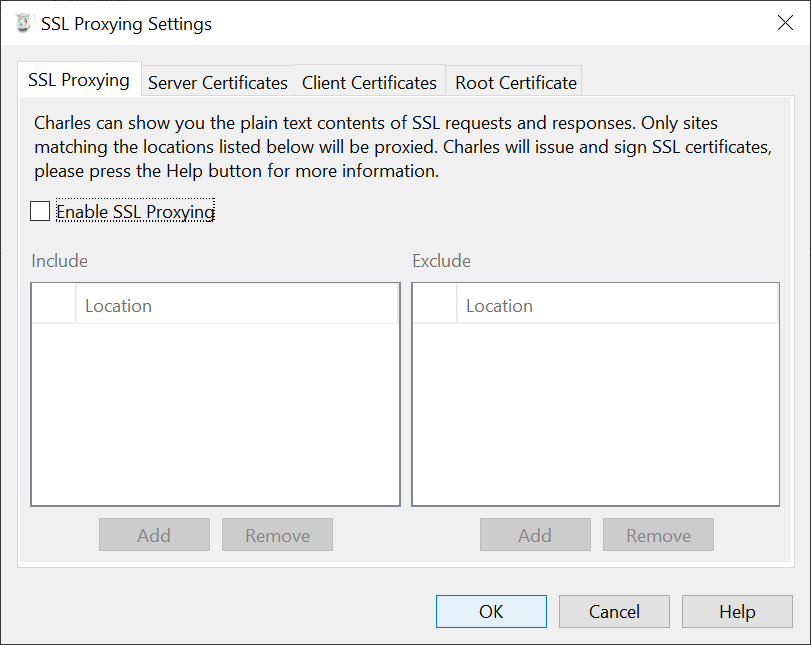
Step 3 – Click on the “Enable SSL Proxying” checkbox, then under “Include”, click “Add“.
Step 4 – Enter the host and port that you want to decrypt. See the table below for common host patterns used for analytics QA and validation. Then click “OK“, then click “OK” again to go back to the main Charles window.
Common Hosts Used in Analytics QA
| Usage | Host | Port |
| Adobe Analytics (3rd Party Cookies) | *.omtrdc.* | 443 |
| Adobe Analytics (Common FPC CNAME Option) | smetrics.* | 443 |
| Adobe DTM & Launch | *.adobedtm.* | 443 |
| Google Analytics | *.google-analytics.* | 443 |
| Google Tag Manager | *.googletagmanager.* | 443 |
| Tealium IQ | *.tiqcdn.* | 443 |
| Decrypt All HTTPS Requests | * | 443 |

Step 5 – Close Charles and Re-Open
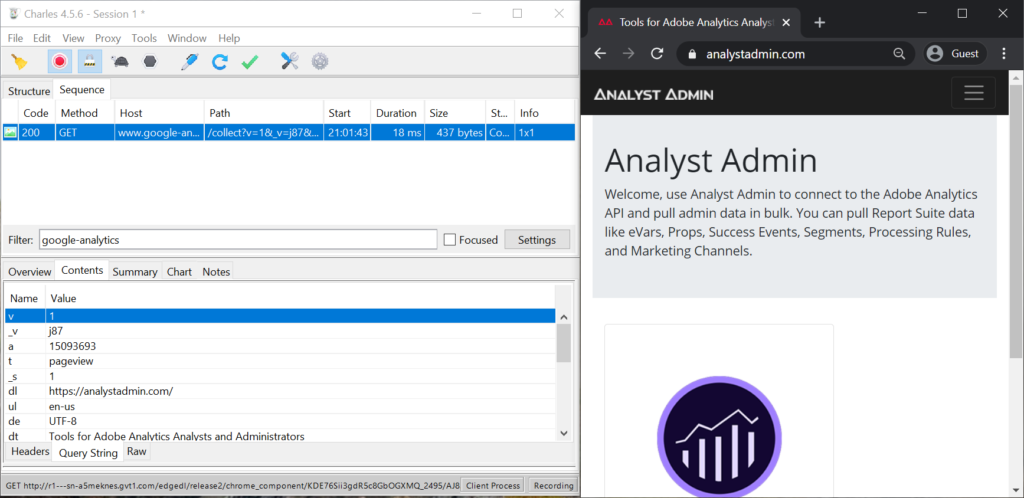
Step 6 – Enter “google-analytics” as the Filter and on a new browser tab, go to https://analystadmin.com/, you should see the HTTPS analytics tracking beacon go out.
For users who only need to intercept HTTPS on your local machine (Ex: web browser), you can stop here.
Firewall Set Up for iPhone and Android Proxying
This part only applies to users who need to proxy traffic to your PC from an external device. For example, if you have an iPhone and need to capture a Charles log with your PC.
In some cases, Windows 10 PCs are set up with very strict firewall rules. Use this section to check if Charles is set up correctly with your firewall.
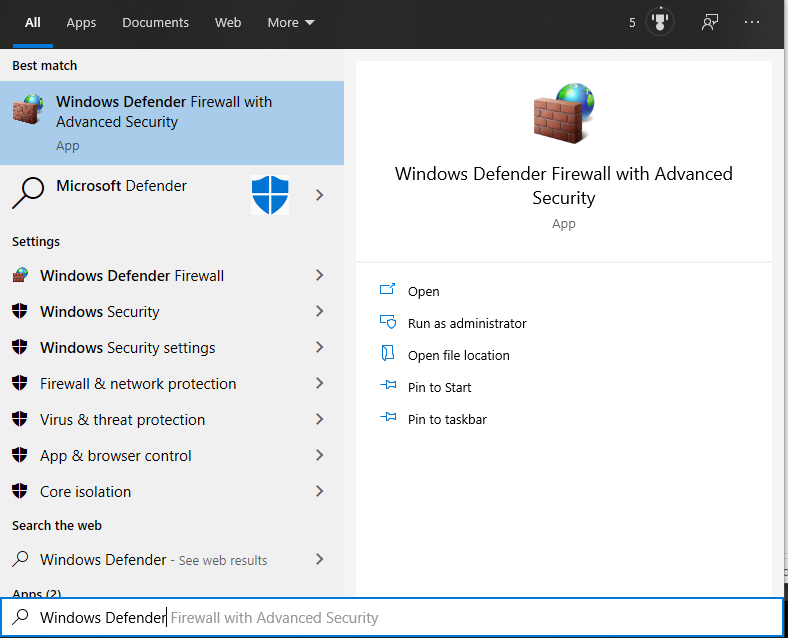
Step 1 – Press the Windows key and start typing “Windows Defender Firewall with Advanced Security“. Then open the application.
Step 2 – Under Inbound Rules, look for Charles Web Debugging Proxy.
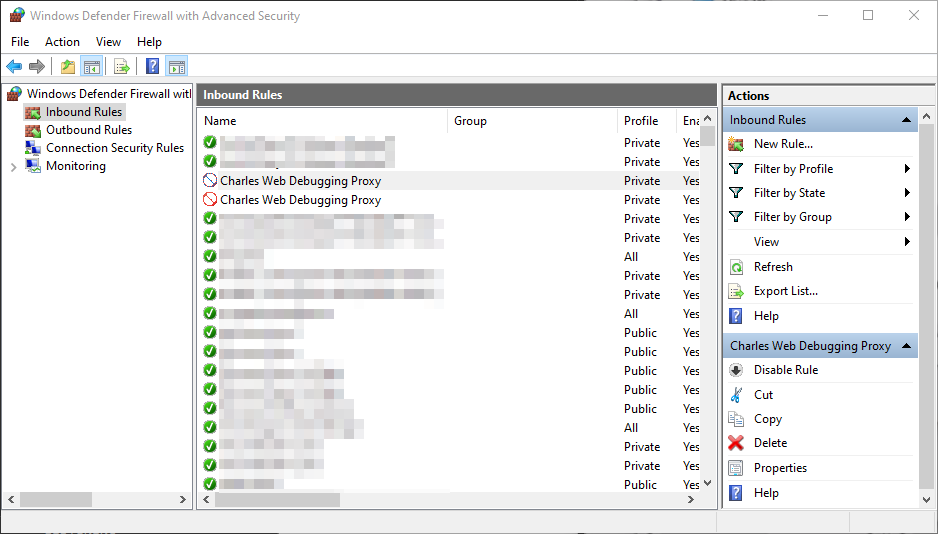
-> Stop here if you see green next to both Charles rules.
-> Continue to Step 3 if you see a prohibited (blocked) sign next to any Charles rules
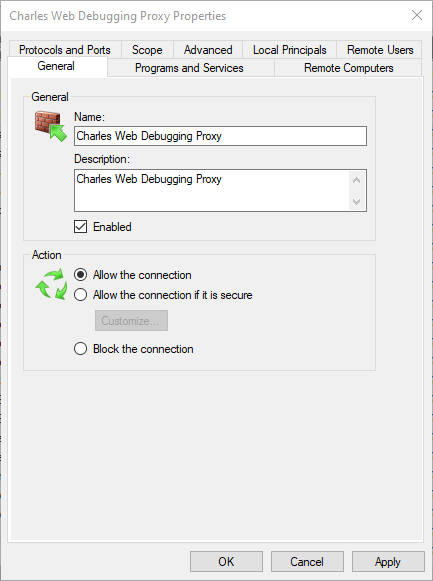
Step 3 – Double click on a blocked Charles rule, then click on “Allow the connection” and click “OK“. Repeat for the second rule if needed.
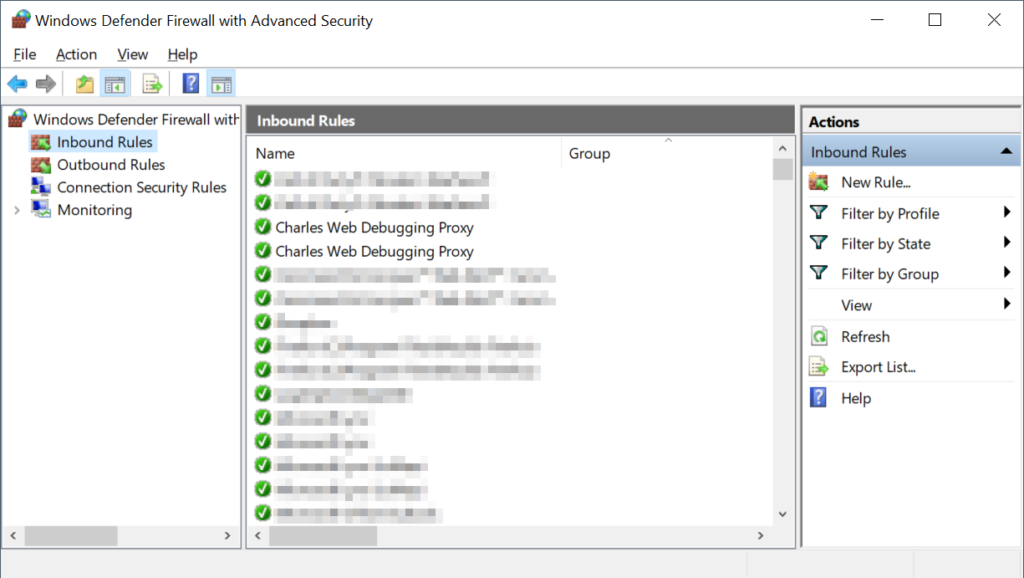
Step 4 – You should see a green circle with a checkmark next to the Charles rules now.
You’re done! Now you have a Windows 10 PC that can proxy local traffic as well as external traffic from phones and tablets.
For me the ‘Windows Proxy’ option is missing and default traffic is not being captured. Is there any setting in registry or some other setting is blocking it?
Thanks
M
Try this: Windows Menu > Proxy Settings, then enter the following line under Address:
http=127.0.0.1:8888;https=127.0.0.1:8888
Turn on the Proxy Server toggle and retry.
Simplesmente n’ao funciona para mim.
Por favor, elabore qual é o problema.